
Oreo Chocolate Mousse Cups are not just dessert; they’re a delightful symphony of creamy chocolate and crunchy cookies. With their velvety texture and rich taste, they’re perfect for any weeknight dessert or special party occasion. If you’re looking for a treat that dazzles and delights, stay tuned for a surprising tip on enhancing this recipe!
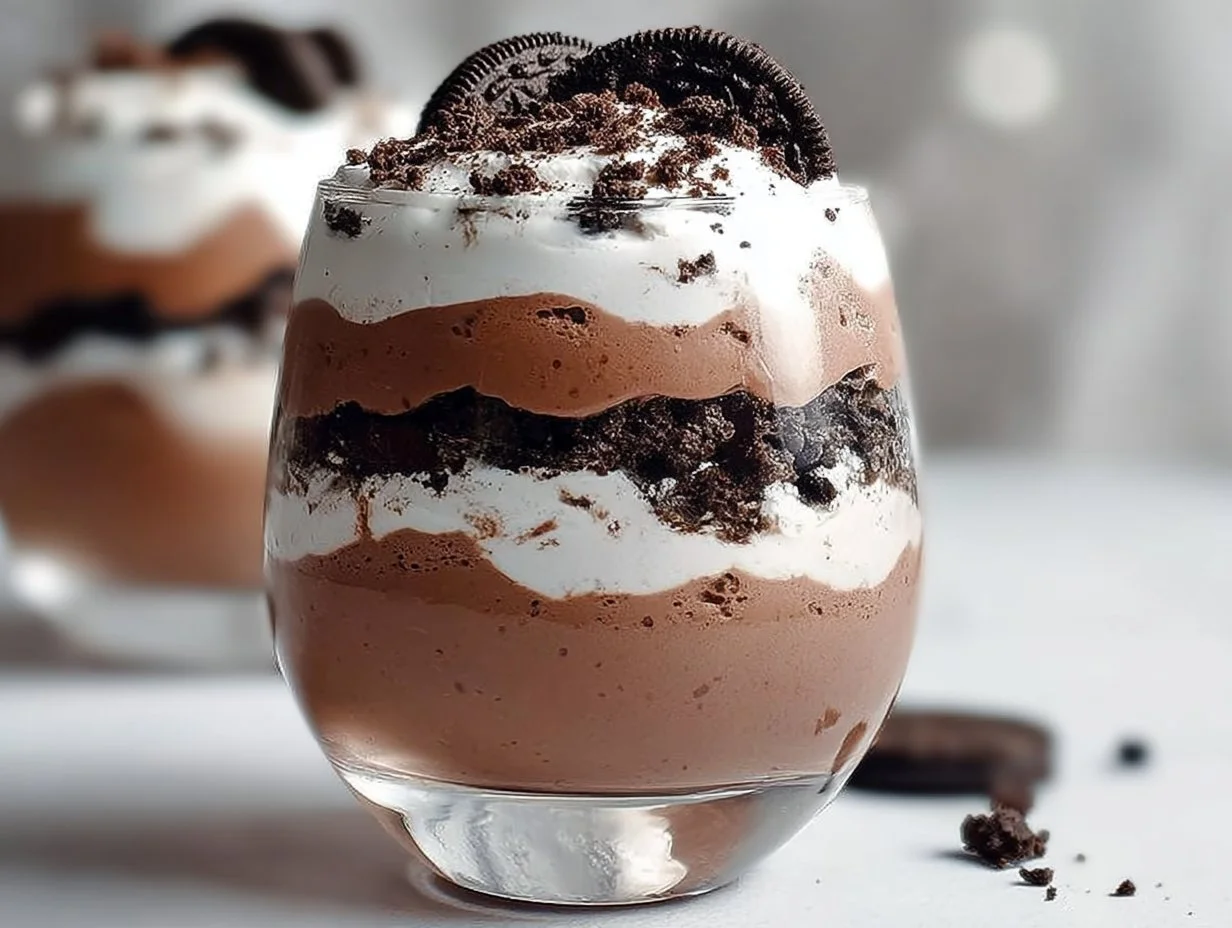
Table of Contents
Recipe at a Glance
| Best for | Family gatherings, parties, or movie nights |
| Difficulty | Easy |
| Total time | 1 hour (includes chilling) |
| Servings | 6-8 cups |
| Key tip | Assemble just before serving for best texture |
| Smart swap | Use dairy-free chocolate for vegan option |
What Ingredients Do You Need for Oreo Chocolate Mousse Cups?
Oreo Chocolate Mousse Cups are both simple and satisfying. To make them, you’ll need the following ingredients:
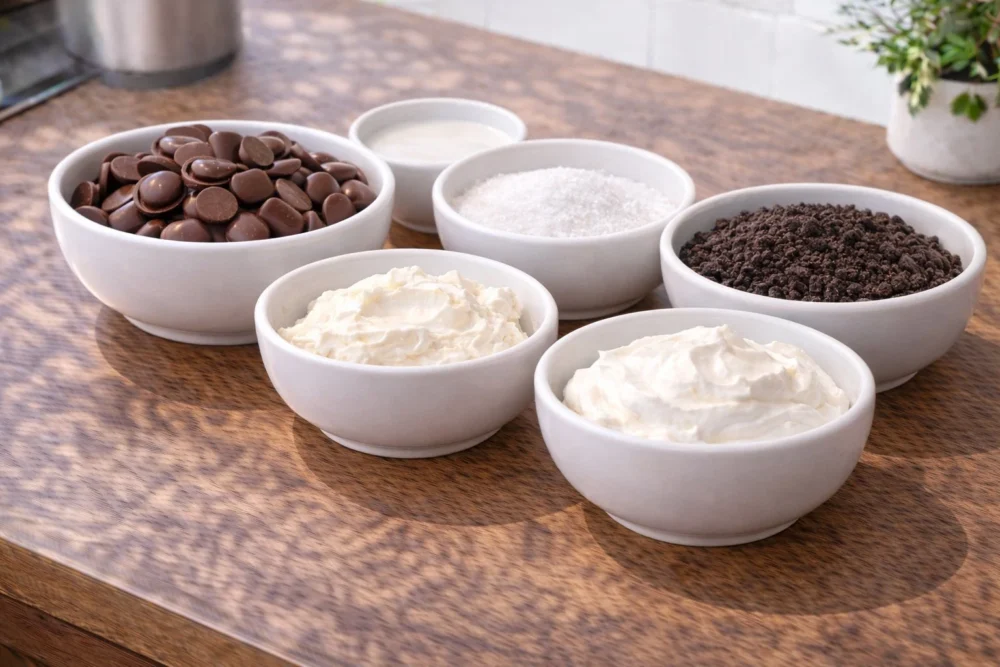
| 8 oz. milk or semi-sweet melting chocolate | |
| 1/2 cup whole milk (divided) | |
| 3 tablespoons granulated sugar | |
| 4 oz. cream cheese (softened) | |
| 8 oz. whipped topping/Cool Whip | (see note) |
| 24 crushed Oreos |
For a truly delightful experience, using high-quality chocolate adds depth. Milk chocolate provides a sweet, creamy flavor, while semi-sweet dark chocolate can heighten the richness, making it feel indulgent without being overwhelming. Cream cheese offers a lovely creamy texture and a slight tang that balances out the sweetness beautifully. And if you’re looking for a lighter alternative, you can always substitute with your favorite plant-based whipped topping or even a homemade whipped cream. Each choice subtly influences the final flavor, making your dessert uniquely yours.
You can also check out Reese’s Peanut Butter Earthquake Cake for another delicious dessert option.
Kitchen Tools to Make Oreo Chocolate Mousse Cups
– Double boiler or microwave-safe bowl
– Mixing bowl
– Electric mixer or whisk
– Measuring cups and spoons
– Small dessert cups or trifle bowl
How Do You Make Oreo Chocolate Mousse Cups Step by Step?
Creating these Oreo Chocolate Mousse Cups is straightforward and fun! Follow these steps for a delicious outcome:
Step 1: Melt the Chocolate
Begin by melting the chocolate with four tablespoons of the whole milk over medium heat. Stir frequently to avoid burning. Once melted, remove from heat and let it cool for about 5 to 10 minutes, then stir in the remaining milk. This mixture needs to chill until it’s cool to the touch and slightly thicker.
Step 2: Combine Williams cream cheese and sugar
While the chocolate mixture is chilling, take your softened cream cheese and sugar. Use an electric mixer or a whisk to blend until the mixture is smooth and creamy. Gradually pour the cooled chocolate mixture into the cream cheese, mixing well until fully combined. Finally, fold in the 8 ounces of Cool Whip until smooth. This step is crucial for achieving that airy mousse texture.
| Prep Time | 30 minutes |
| Cook Time | 5 – 10 minutes |
| Chill Time | 30 minutes |
| Nutritional Information (approx. per serving) | Calories: 250, Protein: 3g, Carbs: 34g, Fat: 12g |
Step 3: Layer the Cups
Now it’s time to assemble! Grab your small dessert cups or a trifle bowl. Start by layering some crushed Oreos at the bottom of each cup. Add a generous layer of the delicious chocolate mousse filling and top with more whipped topping. You can repeat the process until the cups are full and finish with crushed Oreos on top for a decorative touch. This delightful layering not only looks beautiful but provides varying textures in every bite.
If you want to make this dessert ahead of time, you can prepare the layers and keep them separated in the fridge for up to 24 hours. Assemble fully just before serving to keep the texture fresh and creamy, ensuring your guests enjoy it at its best.
Avoid Common Mistakes & Get Pro Tips for Oreo Chocolate Mousse Cups!
Having successfully whipped up my share of desserts, I can assure you that avoiding a few common hiccups can lead to a much better outcome. Here are some things to keep in mind:
Mistakes to Avoid
– Not Allowing the Chocolate to Cool Completely: If you add the cream cheese to hot chocolate, it will melt and become lumpy. Let it cool until it’s room temperature.
– Overmixing the Whipped Topping: When folding in Cool Whip, gently mix to keep that airy texture. Overmixing can deflate the mousse, leading to a heavy result.
– Skipping the Chilling Step: If you don’t allow the chocolate mixture to cool and thicken enough, it can result in a watery mousse. Patience is key for the best results.
Tips for Success
– Use Quality Chocolate: Investing in good chocolate can elevate the flavor significantly, resulting in a richer mousse.
– Chill Your Cups: Pop your serving cups into the freezer for about 10 minutes before layering, they’ll help your mousse stay cold longer.
– Experiment with Flavors: For an extra twist, try adding some peppermint extract or coffee granules to the chocolate mixture for a unique flavor profile.
The single most important takeaway for this recipe is to focus on the layering process to create those beautiful, distinct layers.
Why You Will Love Oreo Chocolate Mousse Cups
Oreo Chocolate Mousse Cups are utterly enchanting! They bring together the rich flavors of chocolate and the beloved taste of Oreos in a completely irresistible form.
Delightful Layers of Flavor
With the combination of creamy mousse, crunchy Oreos, and light whipped topping, each bite offers a harmonious blend of flavors and textures. You can experience that delightful crunch contrasted with the velvety mousse that melts in your mouth.
Perfect for Any Occasion
Whether you’re hosting a party, celebrating a birthday, or treating yourself on a cozy night in, these cups fit perfectly into any context. They can be prepped in only an hour, making them an excellent choice for spontaneous get-togethers.
Simple and Quick to Prepare
Oreo Chocolate Mousse Cups require minimal ingredients and steps. Even those new to baking can easily whip these up for friends and family. Plus, the recipe is forgiving, allowing room for creativity with flavors and presentation.
A Personal Touch
I remember making these for a friend’s birthday party, and they disappeared in moments. Each bite sparked joy. I can’t wait to share how to make them even more decadent with added toppings and presentations in the following sections.
Variations, Serving, and Storage Ideas
When it comes to Oreo Chocolate Mousse Cups, there’s room for creativity! Here are some ideas to elevate your dessert game.
Decadent Variations
You can get creative with Oreos! Consider using different flavored Oreos, like red velvet or peanut butter. Another fun twist is to layer in some caramel sauce for an indulgent surprise. If you’re feeling adventurous, try adding a layer of fresh berries for a fruity contrast that brightens the dessert.
Ingredient Swaps That Work
For a dairy-free version, you can choose coconut cream instead of whipped topping. Just whip the cooled cream until fluffy. Additionally, if you prefer a lighter recipe, Greek yogurt can replace cream cheese for a tangy yet delicious alternative without compromising the flavors too much. You can even swap out Oreos for gluten-free chocolate cookies for a more inclusive treat; the flavor will still shine through nicely! For more variations, check out Strawberry Mousse Pie.
Serving Ideas to Impress
These cups are perfect for parties, but consider a cozy movie night at home. Serve them alongside coffee or hot chocolate for a warm touch! They also make great take-home gifts for guests when placed in cute jars with lids. Just make sure to keep them chilled until ready to enjoy.
Storing for Freshness
For the best texture, store your assembled mousse cups in plastic wrap or an airtight container in the refrigerator for up to 24 hours. Eating them within this time frame ensures you’ll enjoy their creamy texture. If you need to make them ahead of time, prepare the layers separately and store them in the fridge until you’re ready to assemble.
| Idea | Best for | How to do it |
| Red Velvet Oreos | Birthday Treats | Use red velvet Oreos for a festive theme. |
| Coconut Cream Swap | Dairy-Free Options | Replace Cool Whip with whipped coconut cream. |
| Peanut Butter Layer | Decadent Variation | Add a layer of peanut butter mousse between layers. |
| Individual Jars | Party Favors | Assemble in mini jars for a take-home treat. |
More Recipes You Can Try Next
I love pairing recipes! Here are some delightful ideas you might want to try alongside Oreo Chocolate Mousse Cups.
| Cherry Cheesecake Trifle | This layered dessert is just as stunning as it is delicious. |
| Strawberry Crunch Brownies | These brownies add a fruity twist to your dessert table. |
| Cream Cheese Brownies | Rich and creamy, these brownies will leave you craving more! |
Final Thoughts
Making Oreo Chocolate Mousse Cups should be a joyful experience, one where you get to play with flavors, layering, and personal touches. You will impress friends and family with ease. Don’t forget to have fun with it; each cup is an opportunity to express your creativity. And if you try out any fun variations, I’d love to hear how they turn out! Be sure to check out more culinary delights on my Pinterest page and pin your favorites for later: Pinterest page.
FAQ
Can I make these mousse cups ahead of time?
Yes, you can prepare the mousse mixture and the crushed Oreos separately up to 24 hours in advance. Just be sure to assemble together just before serving for the best texture.
What can I substitute for Cool Whip?
If you’re looking for alternatives, you can use whipped coconut cream or freshly whipped cream as substitutes for Cool Whip, maintaining the light and airy profile.
How long do these mousse cups last in the fridge?
These mousse cups are best enjoyed within 24 hours. They can be stored in the refrigerator in an airtight container or covered with plastic wrap.
What if I want a dairy-free version of this recipe?
To create a dairy-free Oreo Chocolate Mousse Cup, use dairy-free chocolate and whipped coconut cream. This way, you can still enjoy delicious mousse without dairy.
Can I add other flavors to my mousse?
Absolutely! You can incorporate flavors such as mint extract, coffee, or even a bit of orange zest for a unique twist to your Oreo Chocolate Mousse.

Oreo Chocolate Mousse Cups
Oreo Chocolate Mousse Cups are a dreamy, rich treat perfect for any occasion, layering chocolate mousse with crushed Oreos for a crowd-pleasing dessert.
- Total Time: 60 minutes
- Yield: 6–8 servings 1x
Ingredients
- 8 oz. milk or semi-sweet melting chocolate
- 1/2 cup whole milk (divided)
- 3 tablespoons granulated sugar
- 4 oz. cream cheese (softened)
- 8 oz. whipped topping/Cool Whip
- 24 crushed Oreos
Instructions
- Melt the chocolate with four tablespoons of the whole milk over medium heat. Stir frequently and let cool.
- Combine cream cheese and sugar using an electric mixer until smooth. Gradually add cooled chocolate mixture and fold in Cool Whip.
- Layer the cups by adding crushed Oreos, chocolate mousse, and more whipped topping until filled. Finish with crushed Oreos on top.
Notes
Assemble just before serving for best texture. Use quality chocolate for the best flavor and chill serving cups to keep mousse cold longer.
- Prep Time: 30 minutes
- Cook Time: 10 minutes
- Category: Dessert
- Method: No-Bake
- Cuisine: American
- Diet: Vegetarian
Nutrition
- Serving Size: 1 cup
- Calories: 250
- Sugar: 15g
- Sodium: 150mg
- Fat: 12g
- Saturated Fat: 6g
- Unsaturated Fat: 3g
- Trans Fat: 0g
- Carbohydrates: 34g
- Fiber: 1g
- Protein: 3g
- Cholesterol: 30mg